Contain lots of poisonous kit inside ~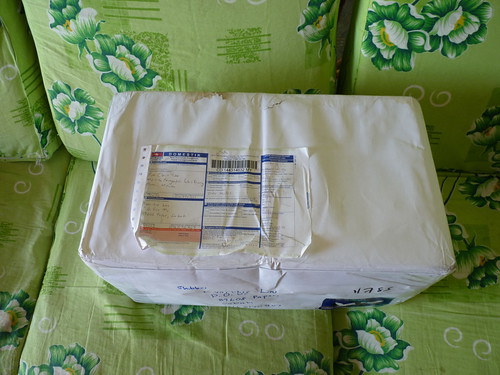
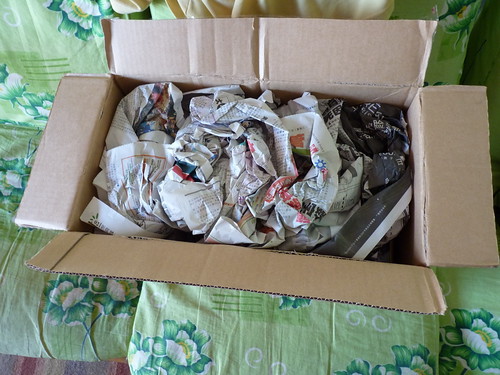 My wait paid off ~ poison ~ !!
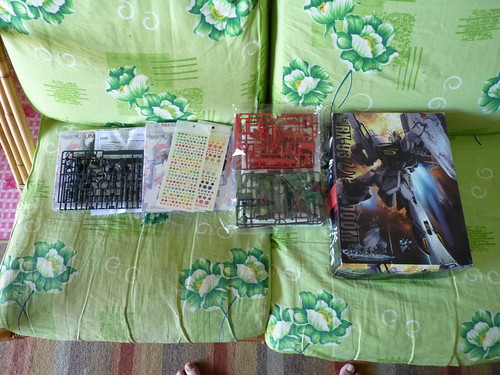 Here's the content : 4x Unicorn's Gatling, 1x Sinanju's Bazooka, 2x crystal len crystal & a Gundoom ~Yosha ~~ !
 Before doing anything, I start to inspect the quality of the runner. Usually when you bought a bootleg kit there's always some thin excess on runner, but this, it's just great ~ +1Now mah Unicorns shall receive full weaponry ~
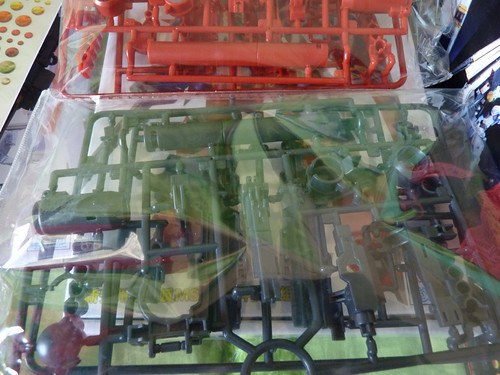 It's time, may Sinanju also receive the same treatment of weaponry, twice powderful ~& errr, red runner for bazooka ? LoLz.
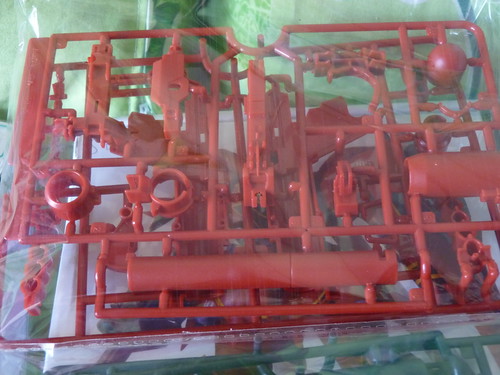 A quick inspect, yup no thin excess anywhere to be found, maybe there is, but isn't big deal either hahah ~Was open up the Gundoom box to see the manual book, it was the same as 1/100 or MG manual book size !
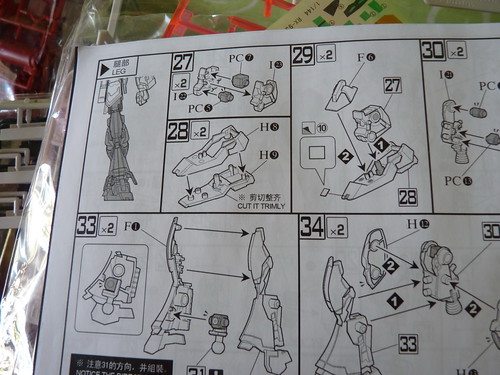 Phail Engrish. How ya "Cut it trimly" huh ? ^^"
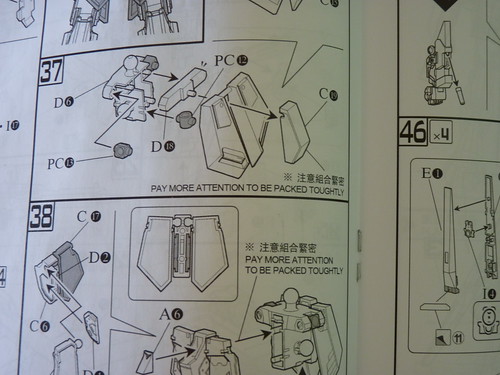 Another Phail Engrish..its good that they mention pay more attention, but "to be packed toughtly" ? LoLz.
 A good emoticon spotted the end of the manual book. ^^& another of inspection onto Gundoom's runners.
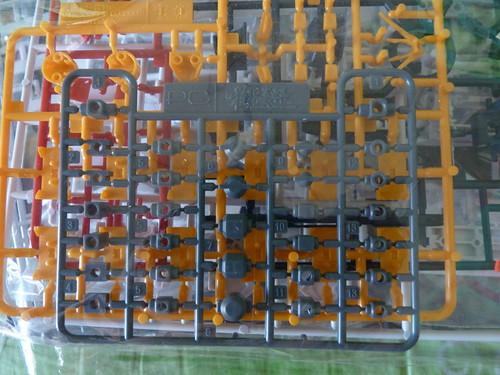 Look at the PC parts. It's oddly clean, as if this was original PC parts from Bandai..O.OAnyway, I'm very happy with this all poisonous kits ~ Although it's bootlegs, sucks to be original where your pockets is filled with roaches already..^^"
=)
Well, slow progress though, but anyway, I figure out something I should did before, monoeye mods.Well, Have seen alot of simple yet genius mod ever did on monoeye kind of BB kit. Some I seen could move freely, 360 degree via a wire & spring, some can only goes horizontal, which in my next mod to be done. Well, almost actually..^^"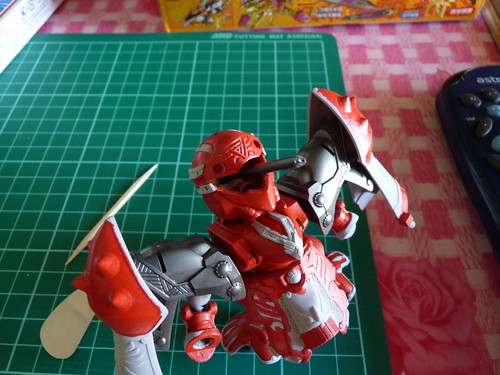 "Argh me eye !! " ^^"
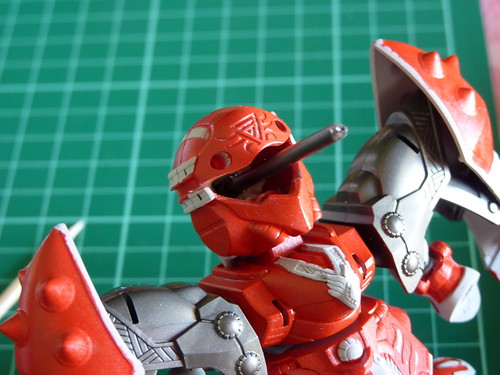 Nothing fancy actually. Kotobukiya option part ABS Unit B do the trick. Now waiting the putty to harden up so that I can start move it around to determine to length of the runner needed to be reduced. After that, a nice piece of crystal sticker for the eye ~ Gosh I'm thrilled now, just like MJ's Thriller. ^^
=)
No kits really hook me up, instead I just go get some paints, decal & another set of paint tray. =)Yes, decal's aren't original, but hey, it's for Hrairoo ! There's no way I'ma stick that huge clear stickers !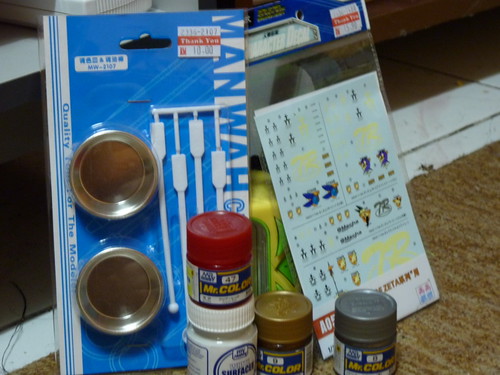 Things I buy. Finally get a clear red paint. Sweet ~
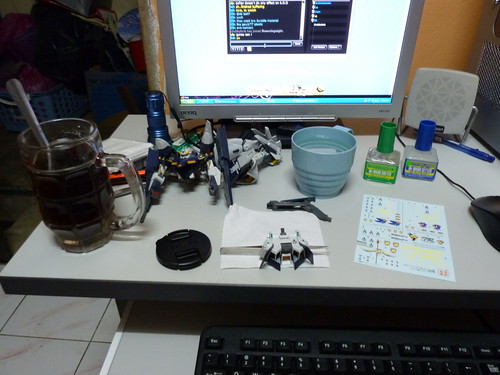 Temporary operation table. =) Nothing beats a nice warm tea to drink ~
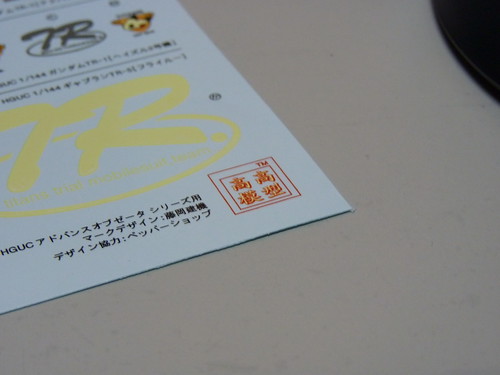 Gao Gao Model logo, orz... Anything else, it's the same with the clear stickers. ^^"
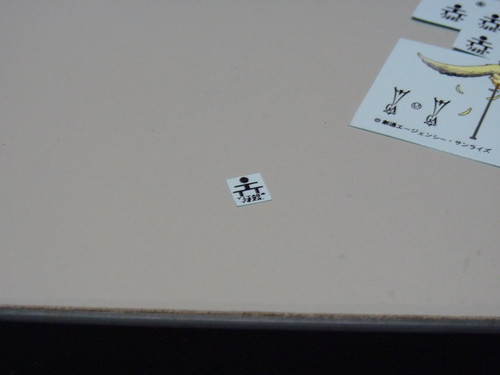 Once you get used cutting decals from Hobbies Corner or Sam's, can't really get off by it..^^"
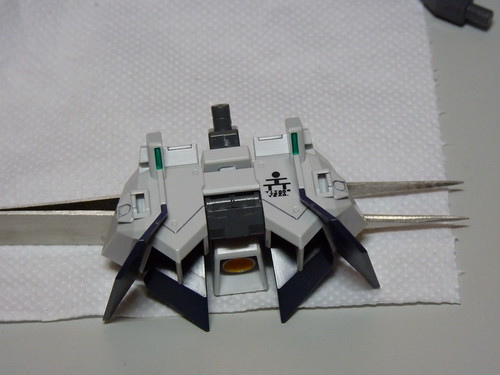 A small drop of setter & softer, quite satisfy for a cheap decals, waterslide some more. >=DNow, my Hrairoo shall revived again ~
=)
Ok, nobody dies if you guys wondering about the title. ^^"Well, hand painting something depends on the mood as well if wanna do it right, smart & tidy. So before I do any hand painting;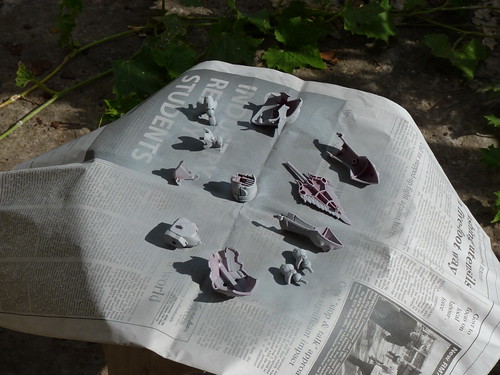 You could need to prime it 1st. On the picture, I use Surfacer 500. Why? I just like how the primer flatten up nicely, unlike Surfacer 1000, which is kinda watery for my liking.Anyway, let's proceed with the hand paint jobs.
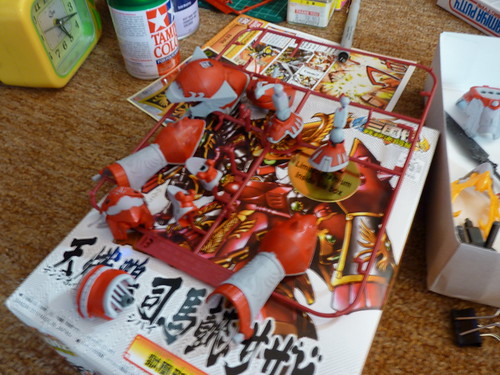 1st layer for 'em. Picture is blur, pardon me, is still kinda pale red now. After few hours then 2nd layer is up before touching up with #9 Gold.
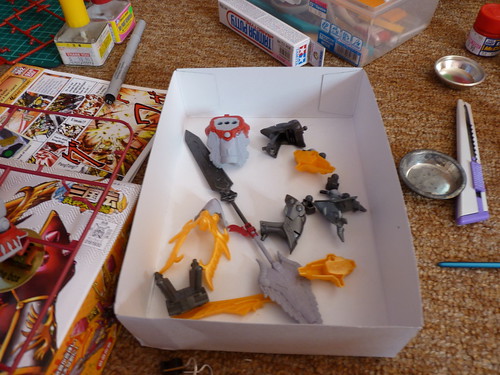 Some parts that are haven't primed yet. Still figure it out what color scheme should I use on chest plate, backpack, shoulders & foots.
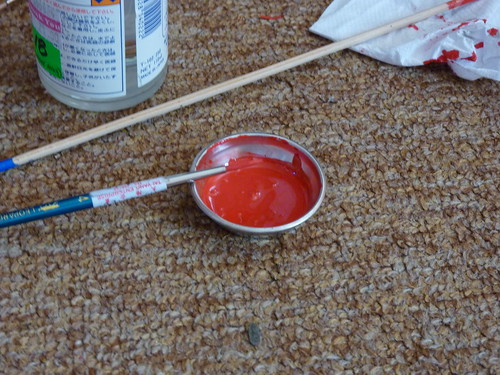 There's still leftover "blood" on my paint tray. ^^" Yeah, don't waste it mah, still have few empty plates for other color.
=)
Well, it's time I do my BB kits already to clear out my backlogs..^^"So i start with this Bangau powered Sazabi..^^"The project starts on around 10am+.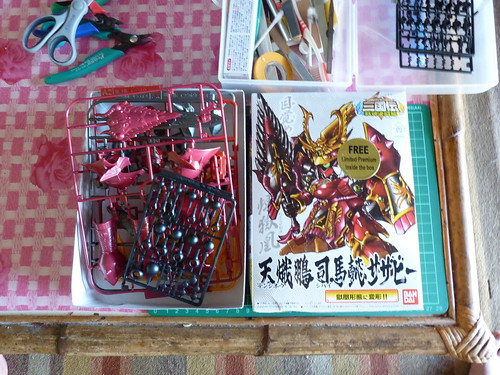 Out of the box & box art. I like how the color was on the box art.
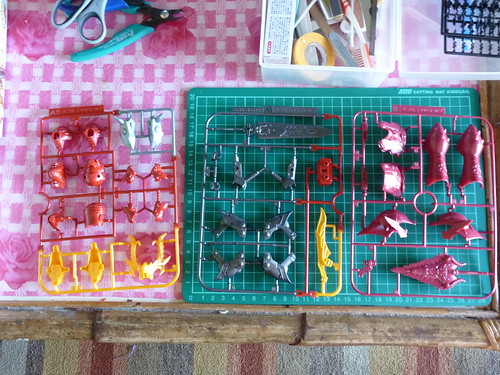 3 runners. A1, A2 & B. The heck, 2 different red.. Bright Red & Maroon Red. Darn, this calls for Mr. Surfacer.Anyway, this is just a quick mod & seam lines puttying..haha..^^"
  Arm : The green box is the approx area need to be clear & filing 'em to make some space for the kotobukiya PC joint.
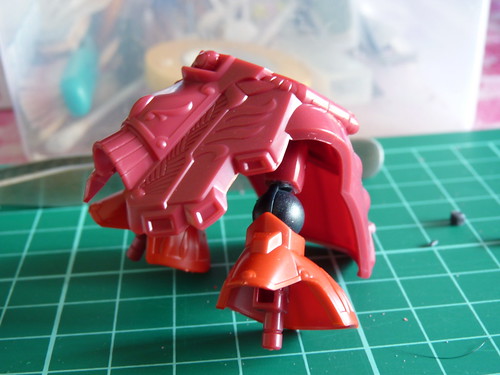 Finished knee joints. I didn't show any pic before the mod 'coz it's just too simple, by this picture already can tell how the mod was done. =)
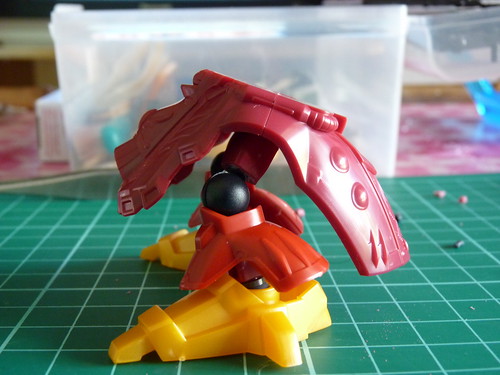 Side view.
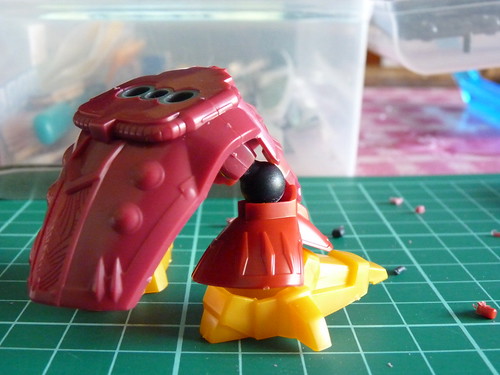 Rear view.
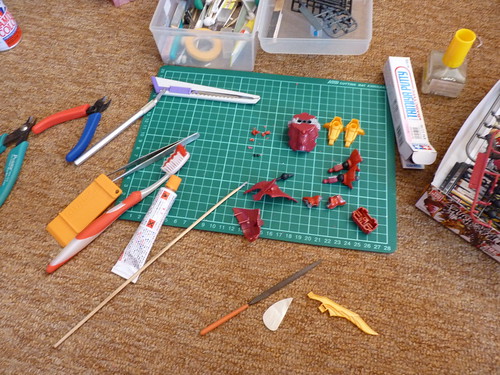 My working area. ^^"Ok proceed.From my past experiences in fixing a Sangokuden kit, the biggest challenge is to attain the roundness of the helmet when seam line removal. Although did tried some with cement & quite satisfying, using putty is another way I could try to preserve the helmet's shapes.
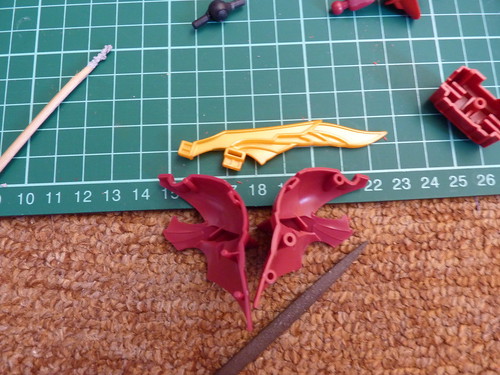 & brain storming begins on how to seperate the top fin & the helmet. The answer ?
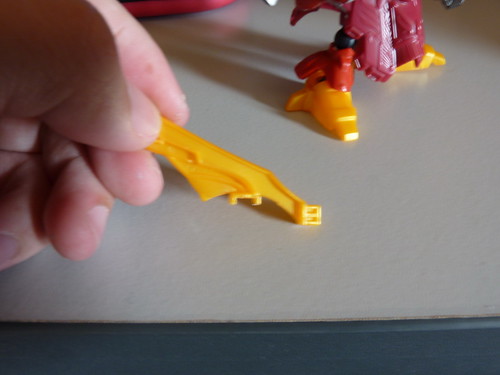 Cut the connector on the top fin. Before proceed, I puttied the helmet 1st before super gluing the connector underneath the helmet. Problem solved.
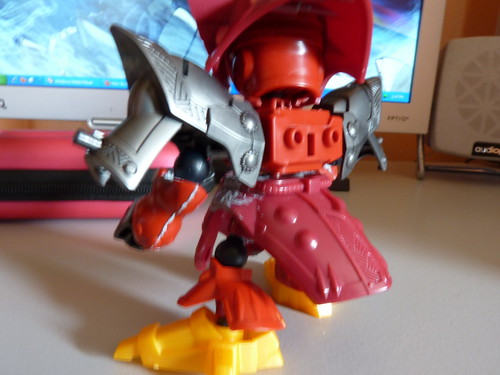
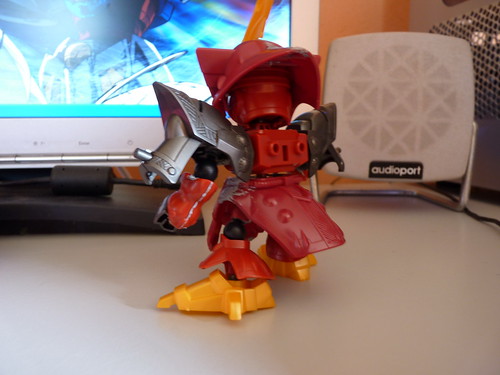
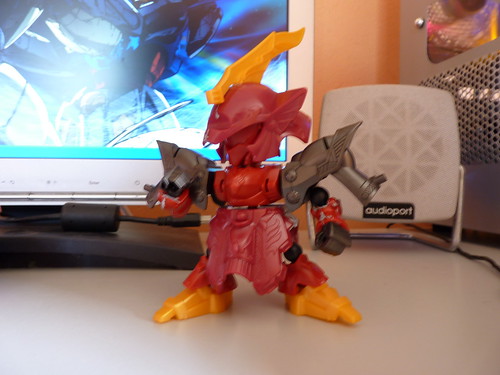 Quick assembly on it will look like when it's done. I like it. The proportion is just nice ~
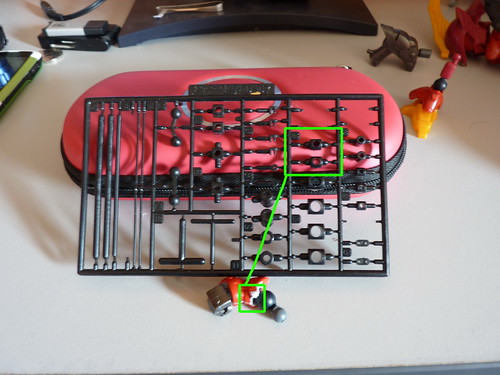 Regarding the Kotobukiya PC joints. This is the set I was using. Can try find it at this shop.
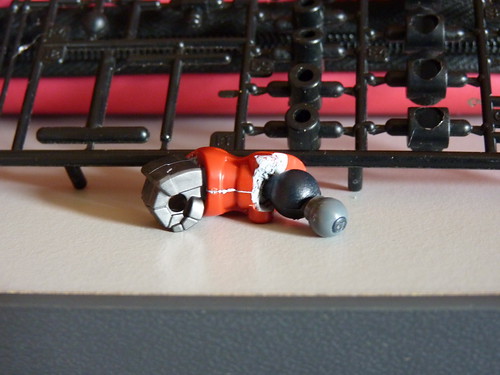 Before I putty the hollows on the upper thigh, I cut a short lengths of unused runners, superglue it, wait it harden, sand to flatten it up then pour some putty into it. Save more time. ^^
 Final look at it before proceeding to the next step, refining & painting.
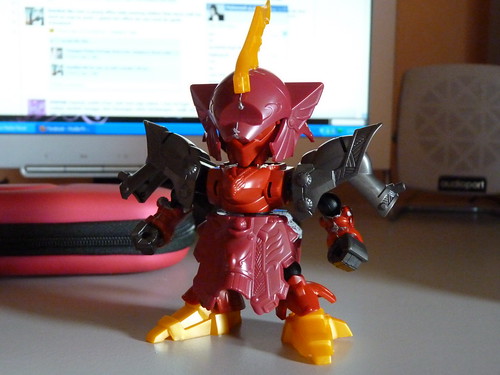 & times was 2.53pm on the last pic.My fastest time ever in modding a Sangokuden kit, within 5 hours is nice enough !
=)
Before any updates, take pic of my male siamese cat who always war cries in front my room every night...^^" Ok, yesterday morning went to KK a while, so grab my camera & took some pic on top of Komplex Asia City building.
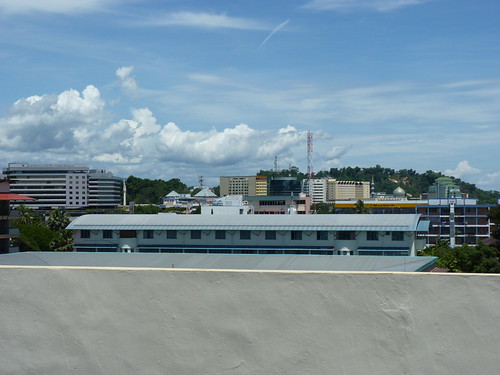 Did try zooming the mosque wbut the color turns out bad, so deleted. ^^"Anyway, next is inside the building.
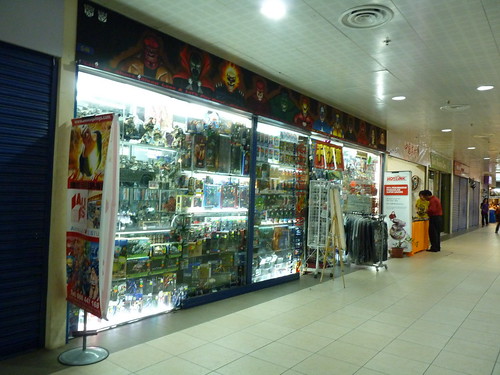 ATS a.k.a Animagetoyz. Hallways is this empty always. There's still no major attraction in this complex, even though it has indoor paintball & roller blades rings.& my hoot of day;
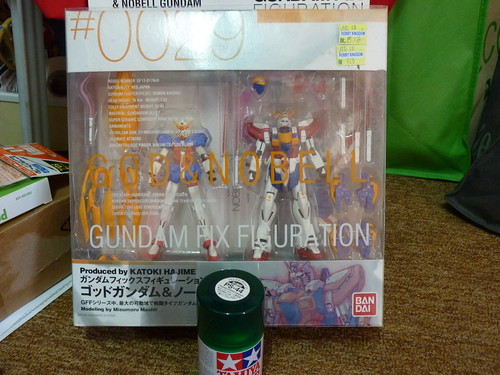 Wee ~ Finally own my 1st GFF ~ Nobel & God ~ & a can of Tamiya Translucent Green. Weird thing is, Translucent Red expensive abit than other, by RM3...I wonder what makes it so special...
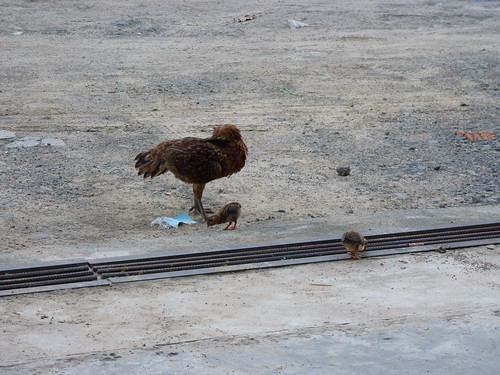
 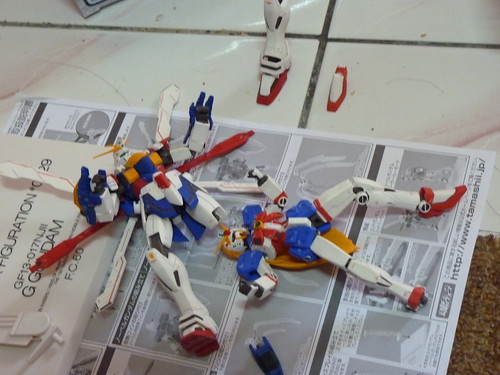 Pose a while & "Poof !", loose joints...Time to cement some of it to tighten 'em.While waiting, took a random pic in my front yard.
 So like, since I bought I never bother to play around with it, so now I present to you Drossel ~
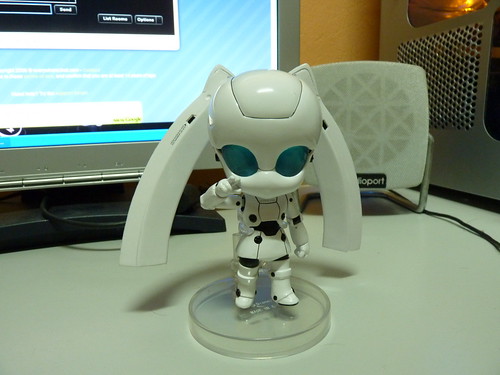 Giving a cute pose ~The next set of pics is a tryout using Manual Exposure on FZ35;
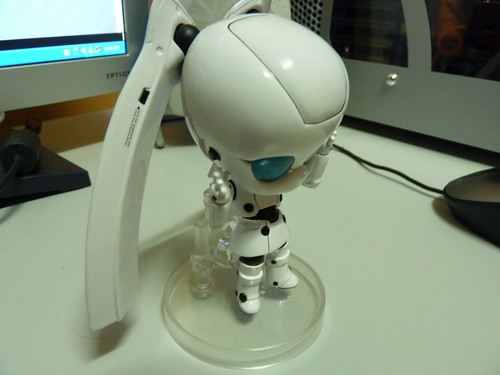
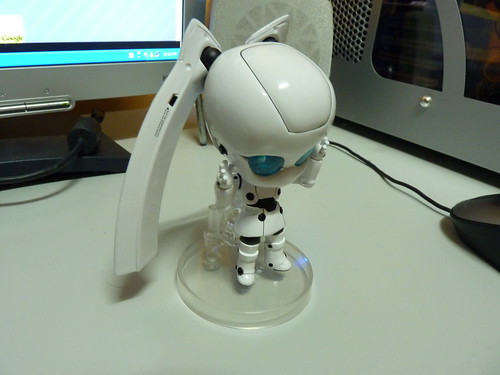 1/4s, ISO 400, f/4.5 - abit warm huh? Got yellow-ish on my table.
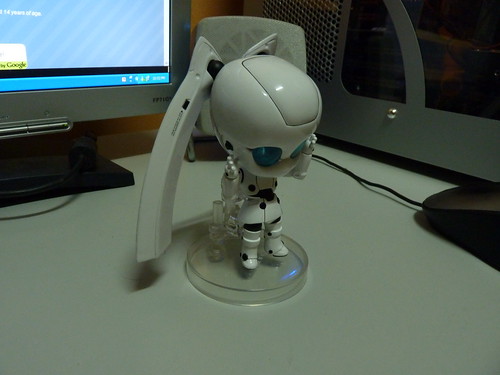 1/8s, ISO 400, f/4.5 - the actual lighting in my room. Quite dark eh ?
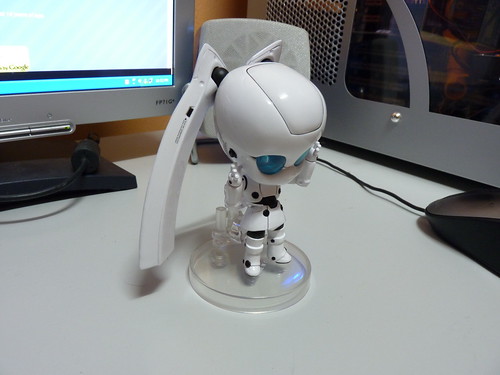 1/2s, ISO 200, f/4.5 - very delighted bright. I like this configure.
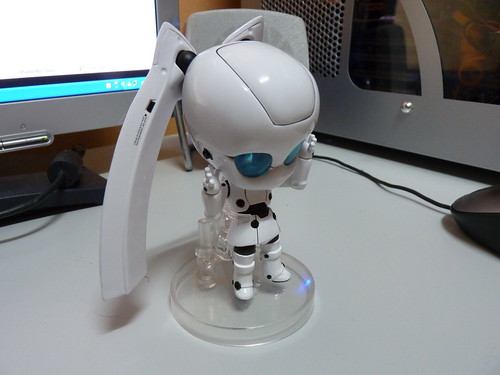 0.3125s, ISO320, f/4.5 - kinda hard to differentiate with the previous pic...
 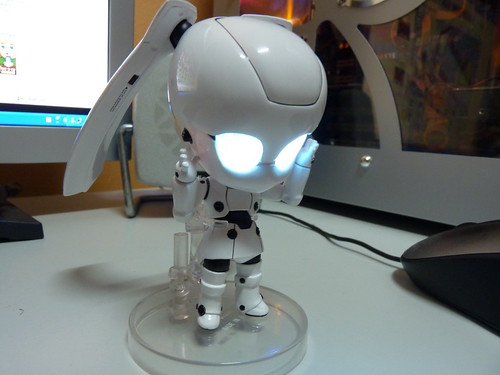 Drossel's eyes lights on when she's shy ~ ^^"
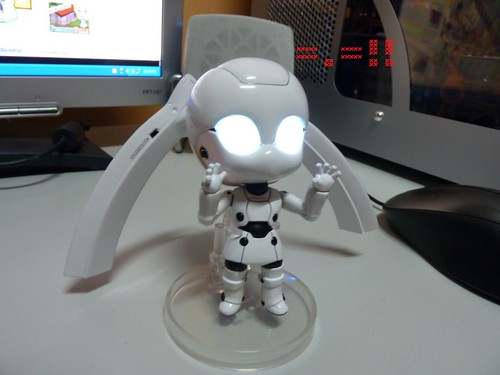 Shocked when I took her shy expression ~She ran hide somewhere around this pic below.
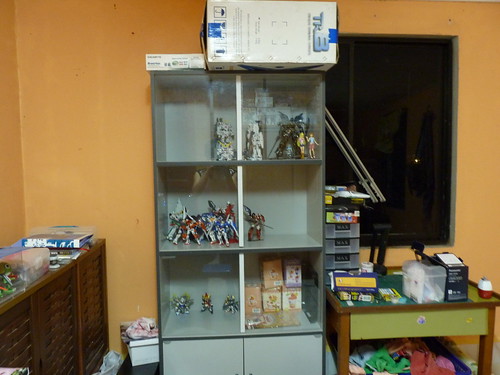 That's all for today. Monday blues really struck my mood yesterday night haha...
=)


