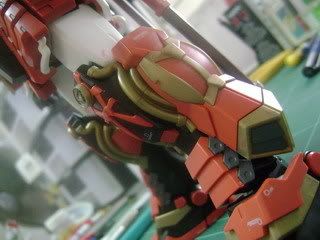
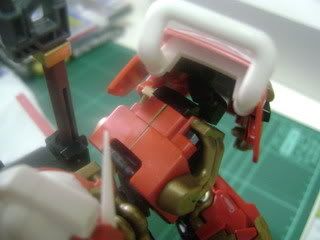
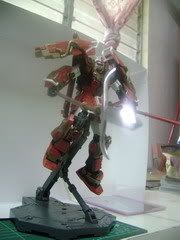
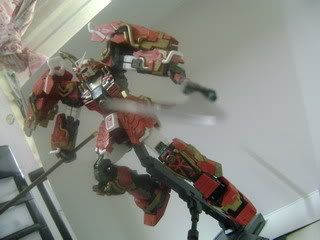
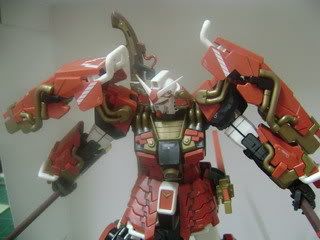
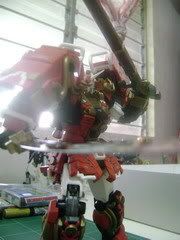
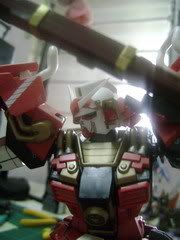
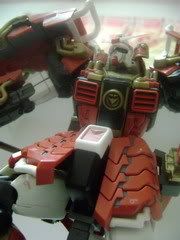
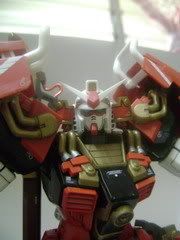
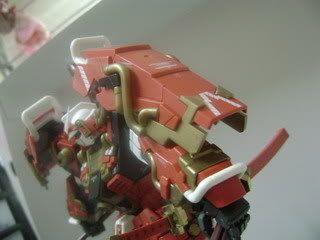
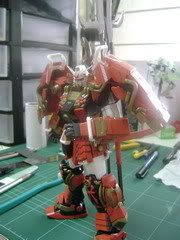
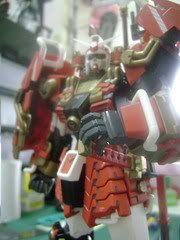
ON October issue of Dengeki Hobby, there's a new MS appear in the end of Chapter #11.
& it's too obvious to tell what MS is.Lowe with his Red Frame wrapped to be Black Frame.
Hahahahahaha, what a lame idea it is ~!
About Me
- Evaritus Lau
- Blogs for gundam fans ~ Even though not that frequent updating, but will try my best to put my blog in better shape ~ ^^ Some of the my gunpla are built according from other sources such as Dengeki Hobby, Hobby Japan & other modeling sites. Feel free to leave comments on my blog, so that I could improve 'em. =)
Monday, September 29, 2008
Monday, September 22, 2008
WIP : Zhao Yun without Hieisen part I
Today's kit I'm working is Zhao Yun from Sangokuden series.
As usual, I start from cement the parts that needed to be snap together.
The cemented hair piece. Just sand it nicely so that it looks better like this.
Herm, got myself a problem, how I'm going to cover this area, with only using art knife ? Well my solutions is either put a piece of pla plates or just use the crap sticker instead, both will cover it up nicely. =)
Now, spraying the "Wind" lance & "Hill" lance.
Ok I'm not quite use to in dealing a chrome color as base coat. So I give it a try, looks nice now although the surface not that even (oh gosh..). ^^"
The tip that combines either "Wind" or "Hill" lance. Just gave a coat of clear orange then clear yellow. Looks way differ than the helm's V-fin. Refer to picture below
A coat of heavy clear orange than a layer of clear yellow. I Thought I make a huge mistake, but end up saying "Hey, not bad after all." haha, oh well, if really doesn't go well, I could just use good-ol Gundam Marker to hide my mistakes. Hehe ^^"
Another angle of it. Can see how rough is the surface now. But it's just good for a gundam marker user like me. =)
Now I'm undergo with this kit for a while, so be seing ya guys !
=)
As usual, I start from cement the parts that needed to be snap together.
The cemented hair piece. Just sand it nicely so that it looks better like this.
Herm, got myself a problem, how I'm going to cover this area, with only using art knife ? Well my solutions is either put a piece of pla plates or just use the crap sticker instead, both will cover it up nicely. =)
Now, spraying the "Wind" lance & "Hill" lance.
Ok I'm not quite use to in dealing a chrome color as base coat. So I give it a try, looks nice now although the surface not that even (oh gosh..). ^^"
The tip that combines either "Wind" or "Hill" lance. Just gave a coat of clear orange then clear yellow. Looks way differ than the helm's V-fin. Refer to picture below
A coat of heavy clear orange than a layer of clear yellow. I Thought I make a huge mistake, but end up saying "Hey, not bad after all." haha, oh well, if really doesn't go well, I could just use good-ol Gundam Marker to hide my mistakes. Hehe ^^"
Another angle of it. Can see how rough is the surface now. But it's just good for a gundam marker user like me. =)
Now I'm undergo with this kit for a while, so be seing ya guys !
=)
Tuesday, September 16, 2008
WIP Guan Ping : Almost done.
Friday, September 5, 2008
re-WIP : Sousou redo colors.
Now this kit is alive !! After a few series re-color red & gold spray frenzy-ness....=.=;
Body's gold color was spray color whilst the waist's gold is gundam marker. Big Gap of quality difference indeed. (But don't care about it though...=D )
Gold color on cape is my gf's idea, & she help to color that. =)
Now I'm short of Xiahou Yuan to complete Caocao's party. =)
OK, currently was help my nephew do his NG 1/100 Astray RF. The last Astray in my collection since I got BF 2nd L & GF Amatsu Mina Custom. Cheers !
WIP : Re-Gz Kou Ming = half done. =D
Ok ok I already delayed this post/kit quite a while, but now it is done liao ! Well, almost, least can see end result already. XD
Haven't decide how to color the leg part, so I leave it blank like that 1st.
See the meta-violet not as bright as the body side ? It's because the tip of my marker is harden & color won't flow in....TT~TT But worry not, hand brush technique always helpful in this problem(s). =)
Didn't go clean the excess...yet. =0
Now left uncolored was the legs & his Bakuouki/Bakuousen.
Side of my gf's collections.
Tuesday, September 2, 2008
WIP done : MG Shin Musha
Finally I finish this wonderful kit ~
Only left is decal-ling the weapons with clear stickers, which I'm abit lazy for a moment (Heh ~)
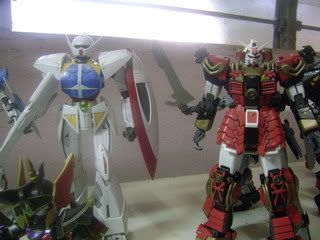
Comparing heights between Turn A & Musha, Turn A still higher abit even though I pose Mr.Mustache in walking pose (O.O !)
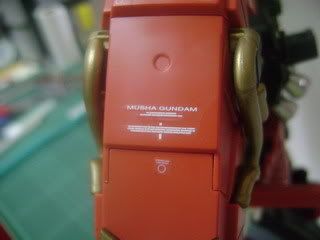
Using water been very useful when handling clear stickers & dry transfer decals, all thanks for the info from Hobby Japan & Dengeki Hobby magazine. (^^)
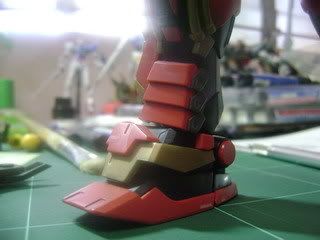
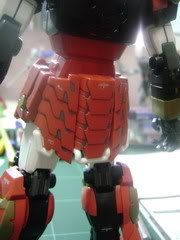
I still remember shoulder armor got a big gap to close, instead close 'em up, I sand bit to make a panel line then put gold color for my own touch up details. No need cement already ~
Pics with weapons:
More other pic but still this kit:
Closing this post with final pic:
Ok, that's wrap up my post for this kit. Now back to WIP Sangoku kits.
=)
Subscribe to:
Posts (Atom)