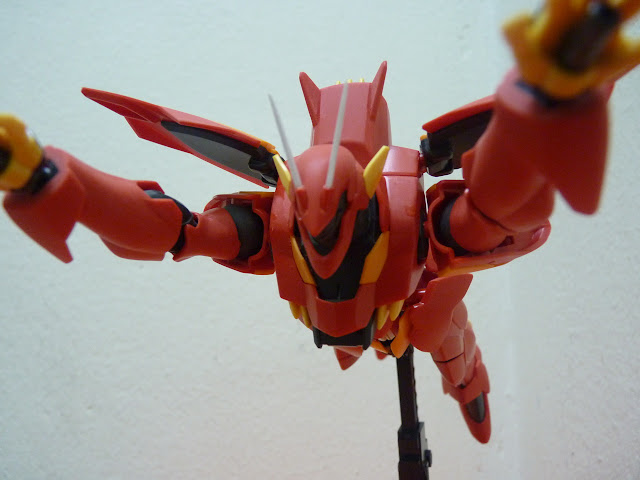
The annoying part finally over, phew ~
Manage to seamline removal to all split parts, from body to legs, in 1 whole day.
 |
| Complete OOB, no touch up yet. |
 |
| Compared with mah' A2 w/ new shoes. |
 |
| Alot of cement spill incident to these area...if ya notice on the right one. |
 |
| Good thing was that, Tamiya Extra Thin helps fill in the seamline much faster than using Cement Deluxe. I LIEK. It easily creates the excess for to cut & sand. |
 |
| More cement spill galore. |
 |
| Excess cement = success seamline removal. =) |
 |
| Notice to spot of cement on the body ? That still need to seamline remove, I still can feel the line with my nail, back to the scratch again. |
 |
| Done sand all parts. |
 |
| Ze Rider w/ Ego. 3:) |
 |
| Clean is NAIS ~ |
 |
| Whoopss, another cement spot = require re-sand again. |
 |
| Quote the Hunter in L4D; Same pose, differ creature. 3:) |
 |
| Honestly, I can't think of any pose of this guy yet, except for the final Kick with A2 later on. |
 |
| Straight is STRAIGHT. Hahah ~ |
=)


5 comments:
Clean nice seam removal as usual bro :D
Snce i am painting mine, need some head cracking to seal the upper arm one, why the just dont make it into one single piece
Damn, i missed sanding already >_<
already done sanding owo.. me stil far away >_<
nice job on the seamlines removal ^^
@ZD - for me I just cut the peg and make it can slide insert the joint part ..
@ZD & Tsuki,
Because my 1st inspection I see alot of potential seam line visible, & it's mecha-ugly like that, die die must remove seamline 1st, the rest later can decide, now after some more sanding process, gotta prime it & re-paint. =)
There tons of seamlines man lol...I still haven't finished sanding!!!
@Chubby,
Well, have fun removing the seamlines. =) Will be real quick & handy to have Tamiya extra thin though.
Post a Comment